Installing a bathtub requires a lot of plumbing knowledge and heavy lifting, which is why most homeowners leave the job to professional bathroom remodels. That said, it is possible to complete the project on your own if you’re feeling up to the task!
As a trusted bathroom remodeling company, HomeWerks. knows all about bathtub replacement projects, and we wanted to share some information with you about the DIY approach.
If you’re deciding to install your bathtub by yourself, here are 5 steps to follow to get the job done right:
- Choose the Right New Bathtub
- Purchase Your Chosen Tub
- Turn Off the Water
- Remove Old Tub & Accessories
- Begin the Installation Process
1. Do Your Research and Find the Right New Bathtub
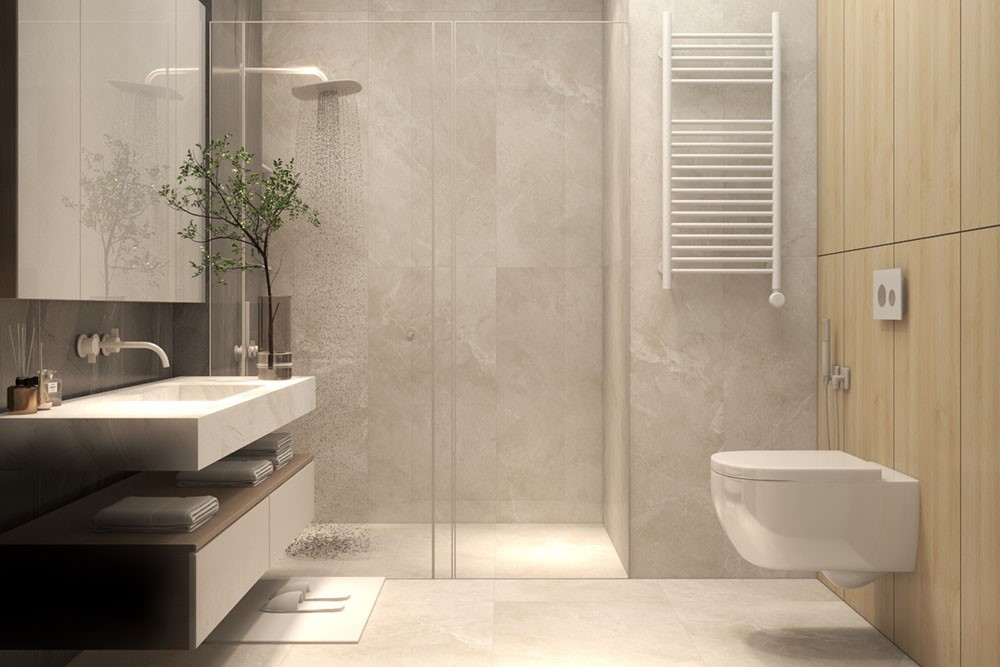
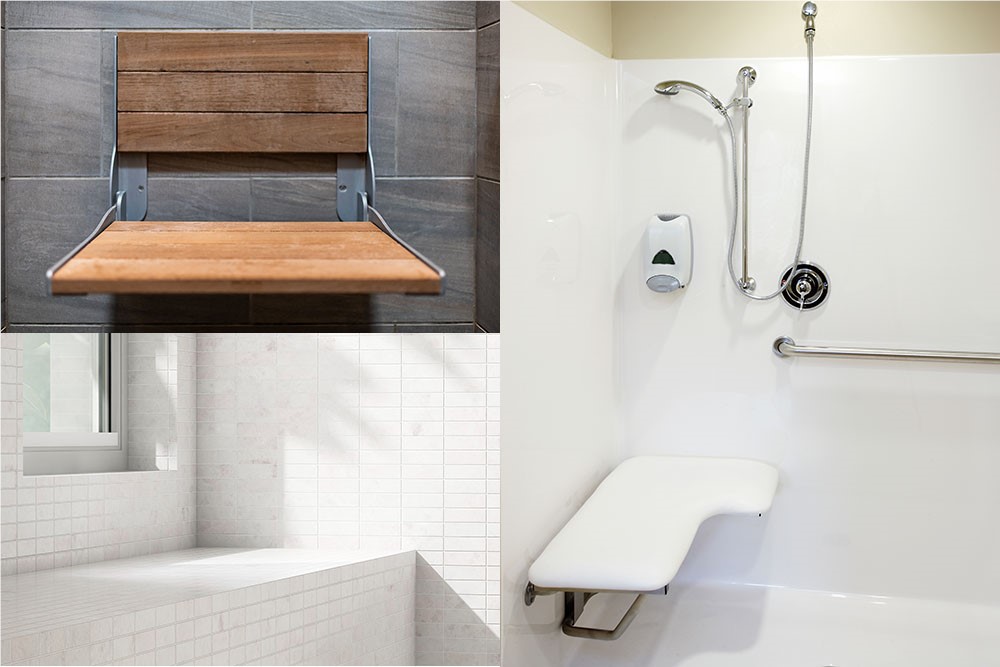
First things first, you need to choose the right replacement bathtub for your bathroom! There are many different options from which you can choose, so it’s important to do your research and figure out what features and aesthetics are important to you.
Some important things to keep in mind include:
- Bathtub Size
- Colors & Patterns
- Standard vs. Accessible
- Wall Surround Options
- Hardware & Accessories
2. Obtain Your Chosen Bathtub
Once you’ve found the right replacement tub for your bathroom, you have to buy it! It’s in your best interest to buy a tub that is a similar size and configuration as your current one, so you can be sure it will fit properly in your space. Also be sure you have the means to get the tub into your bathroom, so you can get it out of the way as soon as you’re ready.
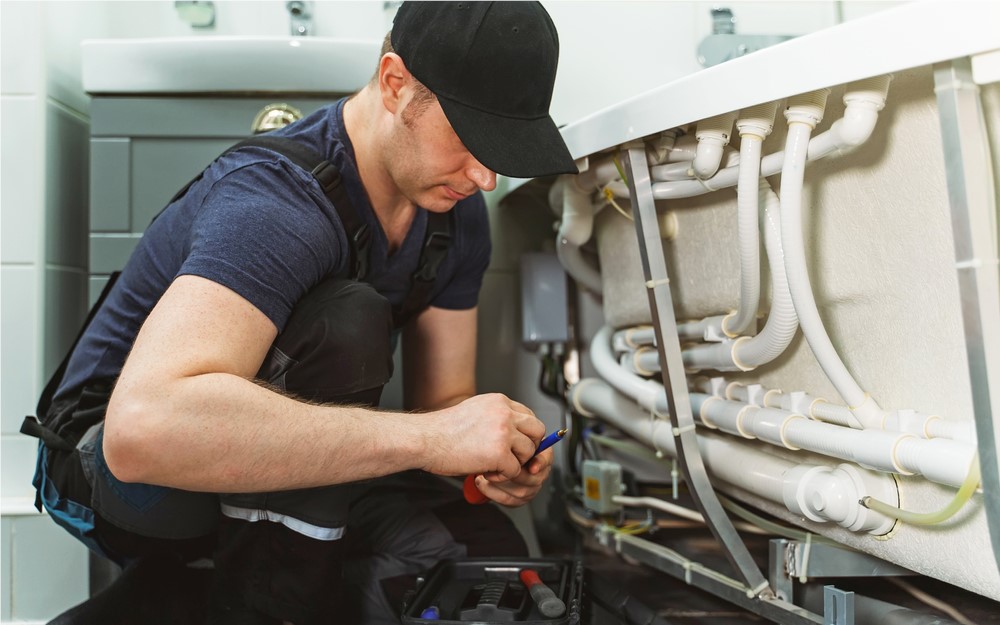
3. Turn Off the Water!
For this step, you can choose to either turn off the water to your entire house, or just focus on the line that is connected to the bathroom. Once you’ve turn it off, doublecheck by turning the faucets and ensuring all water is emptied from the pipes before you start unscrewing things. Otherwise, you could be dealing with quite a mess.
4. Remove Your Old Tub & Any Accessories
Next, it’s time to get the old tub and any unwanted hardware and accessories out of the way. This process will involve removing any wall surround and disconnecting the drain assembly, so you can get the old bath out of there. Be sure to have someone with you to help!
5. Begin the Installation Process
Finally, it’s time to install the new bathtub. Before you begin connecting anything, situate the tub in your space and ensure it is level. From there, you can connect the drain, install a new surround, and secure everything else. Once everything is connected to the water lines, use a silicone caulk to seal any gaps.
Before you start using your new tub, wait at least one day for everything to dry and settle.
Reach Out to Our Bathroom Remodeling Contractors to Learn More Today
If you have more questions about DIY bathtub remodels, you’re ready to shop for your new bathtub, or you’ve changed your mind and want to leave the tub installation to the professionals, you can reach out to our local bathroom remodelers at HomeWerks.
We have over 55 years of experience handling bathroom remodels and offer quality bathtubs of all types, so you can get the right fit for your space. All you have to do now is give us a call or use our online form to schedule a free consultation today!
Subscribe to Certified Remodeler Network's Blog